.webp)
The Manage Users section in ContractQ allows you to control who has access to your account and what they can do within the system. From here, you can add new team members, subcontractors, and office staff, as well as define their roles and permissions to align with your business structure.
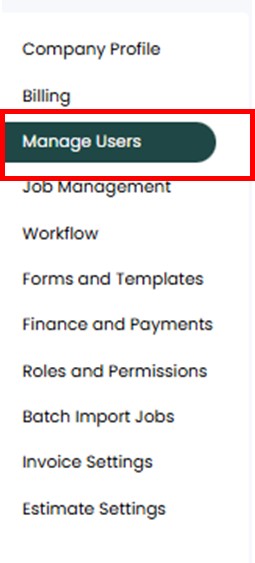
To begin, click the Gear Icon > Settings in the top-right corner of your screen. (Admin access required.)

Bring your crew into Contract-Q to stay connected, coordinated, and in control. Adding your team ensures that everyone—whether they’re in the office or out in the field—is working from the same playbook.
To get started, go to Settings and click on Manage Users. From there, you can invite new users by emailand assign their license type:

Once invited, users will receive an email with instructions to create their password and log in. You’ll beconnected and ready to roll in minutes.
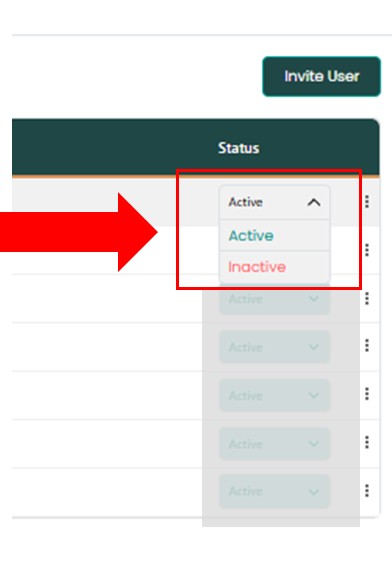
In User Settings, there are two status options for each user: Active and Inactive.
Important: Even when a user is marked as Inactive, their license is still counted toward your billing. This is typically used for temporary situations, such as:
This allows you to maintain their account history without deleting the user or losing their data
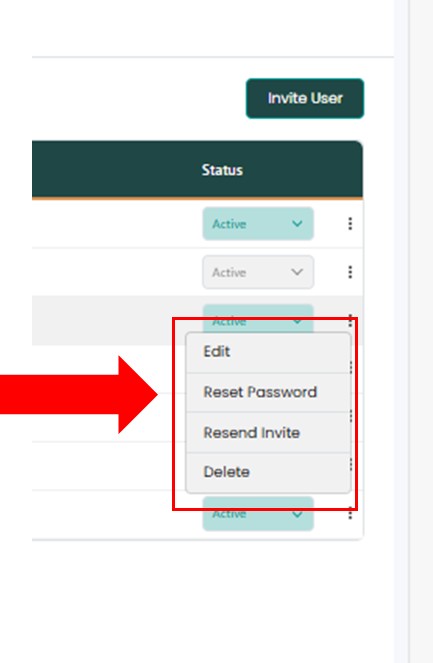
As an Admin, you have full control over managing user accounts within your system. These actions help you keep your team’s information accurate and access properly controlled.
Available Actions:
Manage Access and Keep User Information Current
These tools help ensure your user records are up to date and your team has the appropriate access at all times.